
Thinking about waterproofing your flat roof? Maybe you’re dealing with a slow leak over a tenant space, prepping for another Ontario winter, or comparing quotes from three different contractors who’ve all pitched you different membranes.
The hard part isn’t deciding whether to waterproof. Every flat roof needs it. The hard part is cutting through the sales pitches and figuring out what actually holds up on a commercial building in Canada.
For 28 years, Videl Roofing has been replacing, repairing, and maintaining flat roofs across Ontario, from St. Catharines to Toronto. We’ve pulled off single-ply membranes that failed in under ten years. We’ve also taken down 4-ply built-up roofs that lasted fifty. So we have opinions, and they’re grounded in what we see in the field, not what’s cheapest to install.
This article covers what flat roof waterproofing actually is, where it fails first, why multi-ply systems outperform single-ply plastics in a Canadian climate, and what a proper waterproofing install looks like layer by layer.
Waterproofing isn’t something you add to a flat roof. It is the flat roof.
First thing to get straight. “Waterproofing” isn’t a coating you brush on at the end. On a commercial flat roof, the membrane system is the waterproofing. Every layer, from the insulation boards to the cap sheet, is doing a job to keep water out of the building below.
If your roof is leaking, your waterproofing has failed somewhere in that stack. Usually not where you think.
People assume leaks start in the middle of the roof field. They almost never do. They start at the transitions, the penetrations, and the details, which is where a contractor’s workmanship matters more than the membrane brand on the datasheet.
Where flat roofs actually start leaking
On a typical commercial or industrial roof in Ontario, we see the same four failure points come up over and over again during our free roof assessments. None of them are in the middle of the field.
1. HVAC curbs
Rooftop HVAC units are the number one leak source on commercial buildings. The curb that holds the unit is a wooden or metal frame sticking up through the membrane, and every one of its four sides is a waterproofing transition. Sealant fails. Flashing lifts. Foot traffic from service techs beats up the membrane around the base. Water finds the weak spot and runs down the inside of the curb into the ceiling below.
Most of the HVAC leaks we repair aren’t membrane failures. They’re curb failures. Sometimes the fix is a sealant and flashing rebuild. Sometimes the curb was wrong from day one and needs to be resized, reframed, and tied back into the roof system properly. That’s a specific trade, and we wrote a full breakdown of it on our HVAC curb repair and installation page.
2. Elevator shafts
Elevator shaft penetrations are the hardest detail on most flat roofs. You’ve got a vertical wall rising out of the roof deck, often with mechanical equipment at the top, and every seam where the membrane meets that wall has to be perfectly flashed and sealed. Thermal movement pulls things apart over time. Water gets in. It runs down the shaft wall and shows up two floors below the actual leak source, which makes diagnosis a headache for property managers.
When we fix an elevator shaft leak, we’re not patching the membrane. We’re rebuilding the flashing tie-in from the curb up. Full detail on our elevator shaft repair page.
3. Skylights
Skylights leak because they move. The frame expands and contracts with temperature swings at a different rate than the roof membrane, and the curb flashing around the skylight gets worked on every freeze-thaw cycle. In Ontario, we see 40-degree temperature swings in a single month. Over years, that movement pulls sealant apart and lifts flashings.
A properly installed skylight should last as long as the roof it’s sitting on. A poorly flashed one starts leaking in five. Our skylight repair and installation page walks through what a proper tie-in looks like.
4. Drains and other penetrations
Drains, plumbing vents, gas lines, conduit sleeves. Anything that pokes through the membrane is a potential leak point, and drains are the worst offenders because they sit in standing water every time it rains. Drain bowls corrode, clamp rings loosen, and the membrane around the drain ponds and degrades faster than the rest of the field.
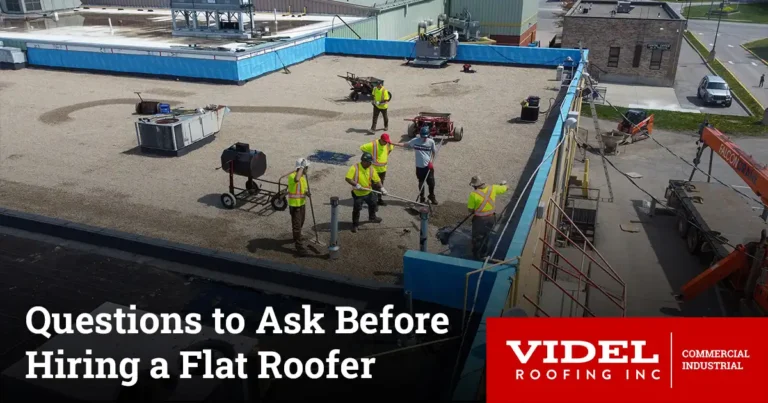
If a contractor is quoting you waterproofing without walking the roof and logging every penetration, they’re selling you a coating, not a repair. We cover penetration repair and drain replacement under roof penetrations and drain replacement.
The membrane debate: why cheaper isn’t better in Canada
Now the part nobody wants to argue about in front of a building owner. Which membrane is actually best for a commercial flat roof in Ontario?
If you’ve been shopping quotes, you’ve probably heard three answers: TPO, EPDM, or a multi-ply asphalt system like 4-ply BUR or 2-ply modified bitumen. Most contractors default to TPO or EPDM. Here’s why, and here’s why we don’t.
Why other contractors push TPO and EPDM
TPO (thermoplastic polyolefin) and EPDM (ethylene propylene diene monomer) are single-ply membranes. TPO is a white plastic sheet. EPDM is a black rubber sheet. Both come in rolls, both install fast, and both are cheaper per square foot than a multi-ply asphalt system. A crew can cover a lot of roof in a day, material costs are lower, and the contractor’s margin is easier to protect.
That’s the sales pitch. Fast install, lower upfront cost, reflective surface (on TPO), and a 20-year manufacturer warranty that sounds reassuring on paper.
What actually happens to single-ply roofs in Ontario
In Canada’s climate, single-ply membranes have two problems that don’t show up in the brochures.
They tear. A single-ply membrane is one layer of plastic or rubber, usually between 45 and 80 mils thick. That’s about the thickness of two credit cards. A dropped tool, a dragged HVAC condenser, a maintenance tech’s boot heel, a piece of storm debris. Any of those can puncture the membrane straight through to the insulation. Once water gets in through a puncture, it spreads laterally between the membrane and the deck, and you often can’t find the actual entry point without infrared scanning.
They fail at the seams. Single-ply seams are heat-welded or glued. That bond is only as good as the installer and the weather conditions on the day it was welded. Seams that were rushed, contaminated with dust, or welded in the wrong temperature window come apart over time. And on a building with heavy HVAC foot traffic, seams are exactly where boots keep landing.
We’re not saying TPO and EPDM never have a place. They do, on some projects. A low-traffic warehouse with no penetrations and a tight budget might be a reasonable fit. But on the typical Ontario commercial or industrial building we service, with HVAC units, service techs, drain penetrations, and forty Canadian winters of freeze-thaw cycling ahead of it, a single layer of plastic is not the system we’d put our name on.
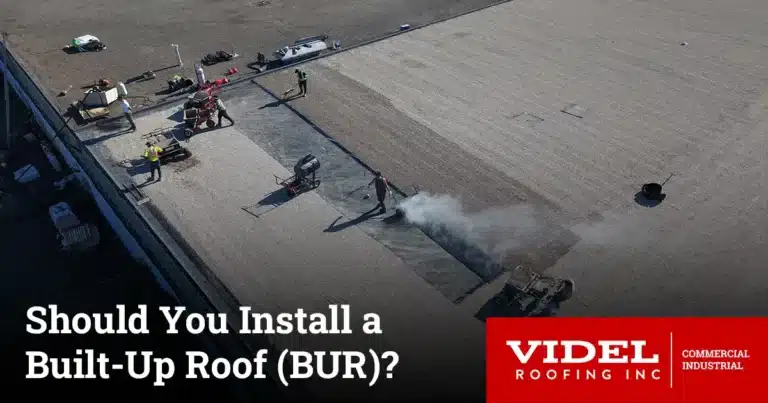
Why we recommend multi-ply systems
A multi-ply system (whether that’s a traditional 4-ply built-up roof or a modern 2-ply modified bitumen) solves the single-ply problem by building in redundancy.
With 4-ply BUR, you have four layers of asphalt-saturated felt bonded together with hot asphalt, topped with a cap sheet or gravel. If one ply gets damaged, the three below it are still doing their job. Water doesn’t reach the deck until it’s worked through multiple layers, and by then you’ve almost certainly caught it during a routine roof inspection.
2-ply modified bitumen is the modern evolution of the same idea. Two heavy-duty asphalt membranes, each reinforced with polyester or fiberglass, torch-applied to fuse into a single waterproof system. Less gravel, cleaner install, similar redundancy principle.
Both systems handle Canadian winters better than single-ply for three reasons:
- Redundancy against punctures. Foot traffic and dropped tools don’t mean instant leaks.
- Thermal flexibility. SBS-modified asphalt stays flexible in cold temperatures, which matters when your roof is seeing -20°C overnight and +5°C by mid-afternoon.
- Proven longevity in the field. This isn’t theoretical. We’ve pulled up original 4-ply BUR roofs that were still holding water after fifty years of service. We’ve never pulled up a fifty-year-old TPO roof, because they don’t make it that far.
Yes, multi-ply costs more upfront. Our breakdown in the 2025 Commercial Roofing Report for Ontario walks through the math on why upfront savings on a cheaper membrane usually get eaten by premature replacement.
Case study: what 50 years of 4-ply BUR looks like
Earlier this year we replaced the roof on a 1970s apartment building in St. Catharines. The original roof was a 4-ply built-up system installed around fifty years ago. It had finally reached end of life, and the owner called us to spec a replacement.
Think about that. A roof that was installed when gas was 50 cents a gallon. That’s the kind of service life multi-ply asphalt systems are capable of when they’re installed properly and maintained. We replaced it with a 2-ply modified bitumen system, added tapered insulation to solve the drainage problems the original design had, and installed external scuppers for faster water exit. The full writeup is in the 1970s apartment building case study.
Our point isn’t that every roof will last 50 years. Our point is that the only roofs we’ve ever seen do last that long are multi-ply asphalt systems. Single-ply rarely makes it past 20 on a commercial building with any real traffic.
Waterproofing during a new flat roof install: layer by layer
When we replace a flat roof, waterproofing isn’t a step near the end. It’s every layer doing its part, from the deck up. Here’s what a typical Videl install looks like, using our 10,800 sq. ft. Welland commercial replacement as a reference.
Layer 1: The deck
Everything starts with a sound deck, usually steel, concrete, or plywood. If the deck is rotted, wet, or structurally compromised, no membrane on top is going to save it. We inspect the deck during tear-off and replace any sections that aren’t up to spec before a single new layer goes down.
Layer 2: Vapour barrier
In heated buildings, warm moist air from inside the building wants to rise into the roof assembly. Without a vapour barrier, that moisture condenses inside the insulation and ruins its R-value over time. A proper vapour barrier sits directly on the deck and blocks that interior moisture from migrating up.
Layer 3: Insulation
This is where R-value lives. On the Welland project, we installed 4 inches of Poly ISO plus a half-inch of fiberboard, which took that building from R-4 (effectively nothing) up to R-25. The fiberboard also gives the base sheet a stable, even surface to bond to. Insulation is part of the waterproofing story because wet or compressed insulation turns into a sponge, and a sponge under your membrane is how small leaks become expensive ones.
If your existing insulation is in good shape, we can often reuse it and save you thousands. See our insulation reuse case study for an example where we cut over $16,000 in costs by preserving usable insulation.
Layer 4: Base sheet
The base sheet is the first waterproofing membrane layer. On a BUR or mod bit system, it’s applied with hot asphalt, which bonds it to the insulation and creates an immediate watertight seal. This layer is what makes the building dry, even before the cap sheet is installed.
Layer 5: Additional plies (4-ply BUR only)
If we’re installing a traditional 4-ply built-up roof, this is where the additional felt layers go. Each ply is bonded with hot asphalt, building up four complete layers of waterproofing redundancy before the cap goes on. On a 2-ply mod bit system, the base sheet is one of the two plies, so we move straight to the cap.
Layer 6: Cap sheet
The cap sheet is the top layer, torch-applied on a modified bitumen install. It’s the visible, UV-exposed surface of the roof, and it’s designed to take weather, foot traffic, and temperature swings without degrading. The cap sheet also carries the aggregate or mineral surface that protects the asphalt underneath from sun damage.
Layer 7: Flashings and penetration details
Once the field is done, we tie in every penetration, curb, drain, and parapet. This is where most of the real workmanship on a roof lives, and it’s where most failures happen on roofs installed by crews in a hurry. A clean field means nothing if the HVAC curb flashing isn’t properly integrated with the cap sheet.
What does flat roof waterproofing cost in Ontario?
Waterproofing cost depends on what you’re actually asking for. A spot repair on a single leak is a few hundred dollars. A full system application on an aging membrane runs in the $3 to $7 per square foot range, depending on roof condition and coating system. A complete multi-ply replacement, including tear-off, new insulation, and a new membrane, runs considerably more but buys you decades of service life instead of a few more years of patching.
The most expensive option is always the one that fails early. That’s the honest answer, and it’s why we push building owners to look at total lifetime cost instead of just the number at the bottom of the quote.
For a specific number on your building, we offer a free 50+ point roof assessment and a no-obligation quote. We walk the roof, document every penetration and failure point, and give you a report you can actually use.
Ready to stop guessing about your roof?
If your building is in the GTA, Niagara, Hamilton, Halton, Peel, or anywhere in southwestern Ontario, we can be on your roof within a week. Most of the time sooner.
Call (905) 397-1198 or book a free roof assessment online. We’ll walk your roof, tell you what we actually see, and give you options based on what your building needs, not what pads our invoice.
Built to last. Maintained to last longer.